Hey there, shooters! In the world of firearms, the configuration and mounting of accessories can make a significant difference in performance, ease of use, and overall handling of a firearm. As a firearms instructor and enthusiast, I’ve spent countless hours refining the setup of my weapons to ensure they are not only effective but also practical in various scenarios. One trick I’ve found to be very effective that many people forget about is mounting my lights, lasers, and optics at the 12 and 6 o’clock positions on my weapons. This setup minimizes the bulk on the sides of the weapon system, allowing for easier stowage, smoother transitions, and a more streamlined profile on your weapon.

Photo showing Josh in Afghanistan with his M4 tucked in between the doorway and seat by his left hip.
Minimizing Bulk and Enhancing Mobility
One of the primary reasons I prefer the 12 and 6 o’clock positions for mounting accessories is to minimize the bulk on the sides of the weapon. In dynamic environments, especially when moving in and out of vehicles, the last thing you want is to have your weapon snag on seat belts, door frames, or other equipment. This was something that became readily apparent to me my first deployment to Iraq where we operated out of vehicles primarily. By keeping the sides of the weapon clean, I can easily stow and retrieve my weapon without unnecessary hassle or snagging. This streamlined profile is not just about convenience; it’s also about safety and efficiency in high-stress situations.
Reducing Snag Hazards
When you’re carrying additional gear or operating in tight spaces, the risk of snagging increases significantly. Accessories mounted on the sides of the weapon can catch on clothing, straps, or other gear, potentially causing delays or even equipment failure. By positioning lights and lasers at the 12 and 6 o’clock positions, I can reduce these snag hazards. This setup allows for smoother transitions and movements, ensuring that my weapon is always ready for use when needed.
Facilitating Ambidextrous Shooting
As an instructor, I frequently need to switch from left-handed to right-handed shooting to demonstrate techniques and ensure my students can follow along effectively. Mounting accessories at the 12 and 6 o’clock positions makes it easy to run my weapons with either hand, placing all my controls and switches in the same position no matter what hand I’m using. With a clean rail, I can seamlessly transition between hands without worrying about adjusting my grip or contending with obstructive accessories. This setup also ensures that my line of sight remains clear and unobstructed, whether I’m shooting left-handed or right-handed.

Photo showing Josh teaching a low light shoot and move class right handed.
Enhancing Rail Management with Cantilever Mounts
Another preference with my weapon setup is the use of cantilever mounts for my lights. By positioning lights as far forward on the rail as possible, I can effectively eliminate suppressor shadow—a common issue where the suppressor creates a shadow that can obscure the throw of your light. By positioning the optic forward I ensure that the light fully illuminates the target area, providing a clear and unobstructed illumination.
Cantilever mounts also help to keep the rail clean and clear for use with different shooting positions. Whether I’m adopting a prone position, shooting from cover, or engaging in unconventional positions like shooting under a vehicle, a clear rail allows for greater flexibility and ease of manipulation. This setup ensures that I can maintain a secure and comfortable grip on the weapon, regardless of the situation.

One of Josh’s personal guns set up for night vision use with a laser mounted ahead of a pressure switch at the 12 o’clock and light at the 6 o’clock.
Practical Considerations for Different Scenarios
In addition to the practical benefits of this setup, there are also specific considerations for various shooting scenarios. For instance, when engaging targets at longer distances, having a clean rail and optimized accessory placement can make a significant difference in stability and accuracy. By minimizing the bulk and weight on the sides of the weapon, I am able to maintain better control and precision over the weapon.
In close-quarters scenarios, the ability to quickly transition between shooting positions and angles is crucial. The 12 and 6 o’clock mounting positions allow for rapid adjustments and ensure that my weapon remains maneuverable and effective in tight spaces. This versatility is particularly important in dynamic environments where quick reactions and adaptability can mean the difference between success and failure sure as you’d see in an urban situation which for most of us is the most likely shooting situation we can expect to find ourselves in.
Personal Preferences and Customization
Every shooter has their own preferences and requirements when it comes to weapon configuration. For me, the 12 and 6 o’clock mounting positions, combined with cantilever mounts, offer the ideal balance of functionality, convenience, and performance. My weapon setup comes from over a decade in the military, with three combat deployments and tens of thousands of rounds expended in both training and combat. This setup also centers around my personal gear and equipment setup, along with the fact that I am a left-handed shooter. For me, it’s ideal, but ultimately, as we say in the Army, the mission drives the equipment, and what might work well for me may not be ideal for you. Ultimately, the only way you’ll find out is to get out there and train, because the only way to figure out if something really works is to put it to the test.

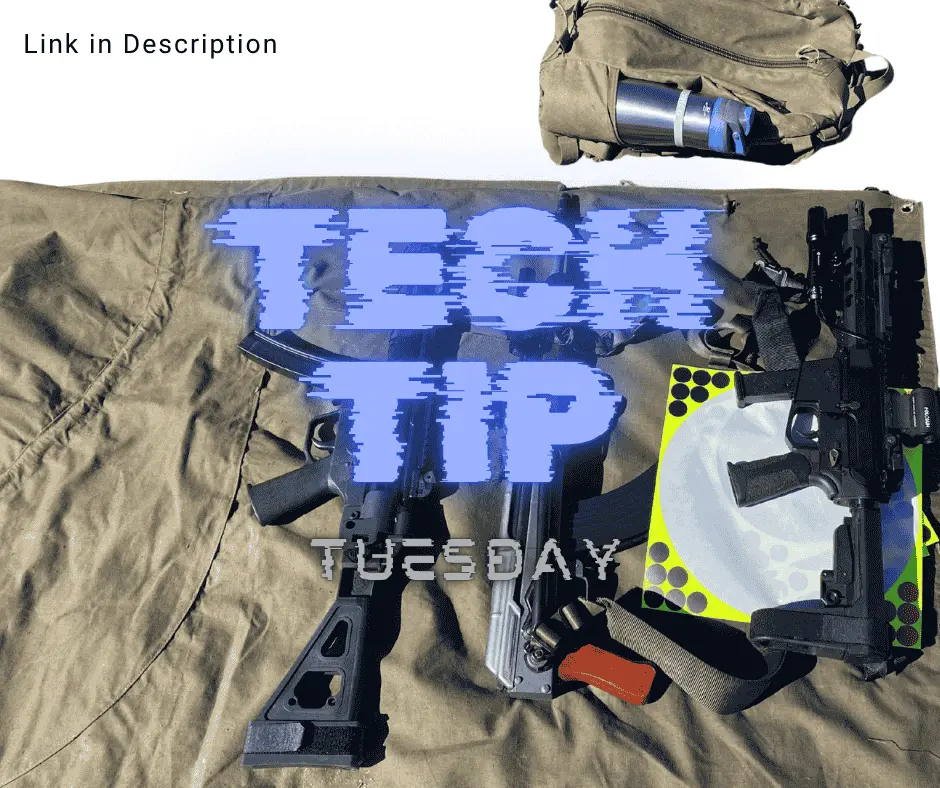
Shop demo AR9 machine gun with pressure switch at the 12 o’clock and light at the 6 o’clock.
Conclusion
In conclusion, mounting lights, and lasers at the 12 and 6 o’clock positions on my weapons has proven to be a highly effective strategy. This setup minimizes bulk, reduces snag hazards, and facilitates ambidextrous shooting, making it ideal for dynamic environments and diverse shooting scenarios.
Ultimately, the key to an effective weapon setup is customization and practice. By experimenting with different configurations and regularly training with your chosen setup, you can optimize your weapon for maximum performance and reliability. Whether you’re a seasoned shooter or a newcomer to the world of firearms, taking the time to refine your setup can make a significant difference in your overall effectiveness and enjoyment of the sport. And, of course, you can always stop by TFirearms, where our experienced and trained staff will be happy to help point you in the right direction with your training and firearms options.
Stay safe, and keep shooting straight.
Joshua Stevens